When making and customizing challenge coins, there’s a multi-step manufacturing process that makes your designs into reality. Each step of the process determines the coin’s appearance, durability, and entire quality including creating steel dies and enamel coloring. Once your design is finalized, you will choose between a struck, plated, or finished metal coin.
In this article, I will help you choose the right design process and explain how challenge coins are made step-by-step.
How to Display Challenge Coins
Step 1: Creating the Challenge Coin Design

The first step in making challenge coins is to create and finalize your custom design. Your design depends on the purpose of your coin.
For military challenge coins, we recommend die casting and finalizing your design with a metal finish. For corporate challenge coins, your design can have your logo, slogan, and business name. You can also design your coins for events and organizations.
In creating your design, there are other factors you should also consider. You must decide if it’s one-sided or double-sided. You will have to choose their size and thickness and select the 2D or 3D elements.
From Artwork to CNC Programming
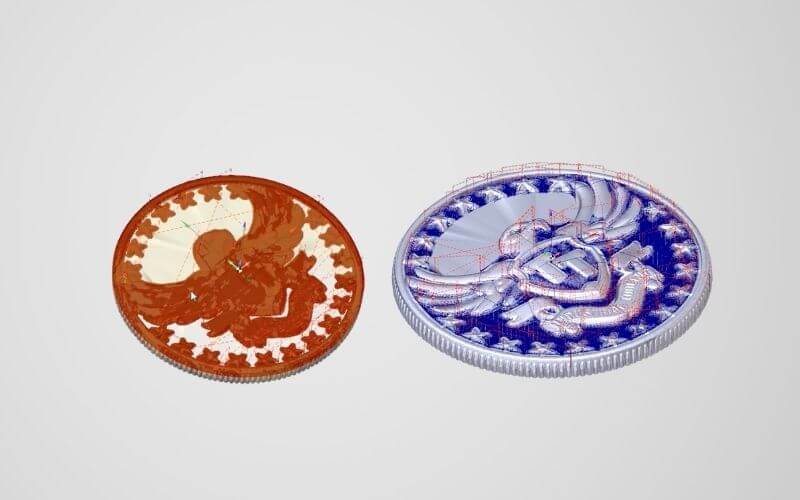
After finalizing your design, your artwork will be converted into a CAD/CAM file. In this step, technical details like your coin’s size, depth, and thickness are set to be engraved into the steel die.
Step 2: Creating the Steel Mold (Die)
In creating the steel die of your challenge coins, your challenge coins undergo two steps: CNC engraving and heat treatment.
CNC Engraving the Die
We use CNC (Computer Numerical Control) machines to ensure detailed and accurate engravings of your design. These machines prioritize intricate and precise details. We use CAD software to replicate patterns, texts, and pictures on the coins.
The inverse coin design is engraved into steel using CNC machines.
Heat Treating the Die
The next step is heat treatment. Steel dies are heat-treated for them to withstand high-tonnage striking and maintain consistent quality during mass production.
Heat treatment makes sure that the steel dies are stronger, sturdier, and more resistant to wear and tear.
Step 3: Preparing the Metal Blanks
After creating the steel mold, we prepare the metal banks of your challenge coins. The metal strips or blanks are made based on your chosen size and shape.
You can choose from the available materials for your metal blanks: brass, zinc alloy, and iron. Your selected material will affect the weight, details, and price of your challenge coins.
Step 4: Striking the Design into Metal

Die Striking Process
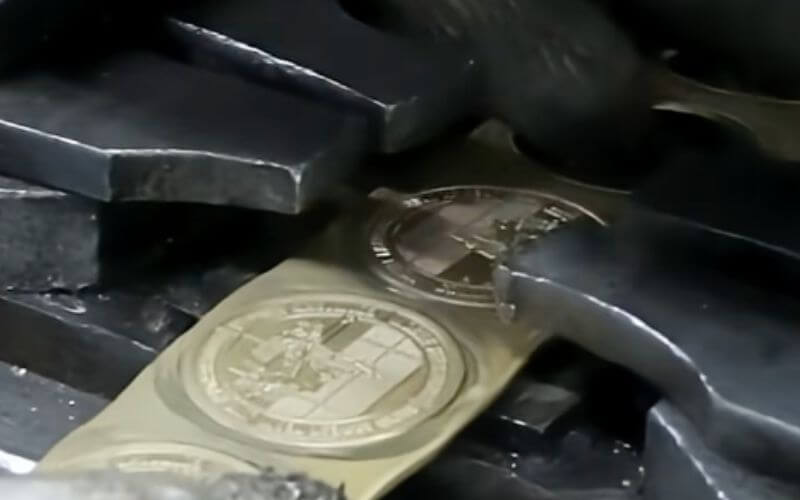
Die struck coins are manufactured by pressing a blank planchet with an engraved stamp onto the surface of your coin. Your design is then transferred onto your challenge coin.
We use high-pressure presses to strike the steel dies into metal blanks. It forms raised and recessed details, making a multi-level design, and creates the coin’s primary shape.
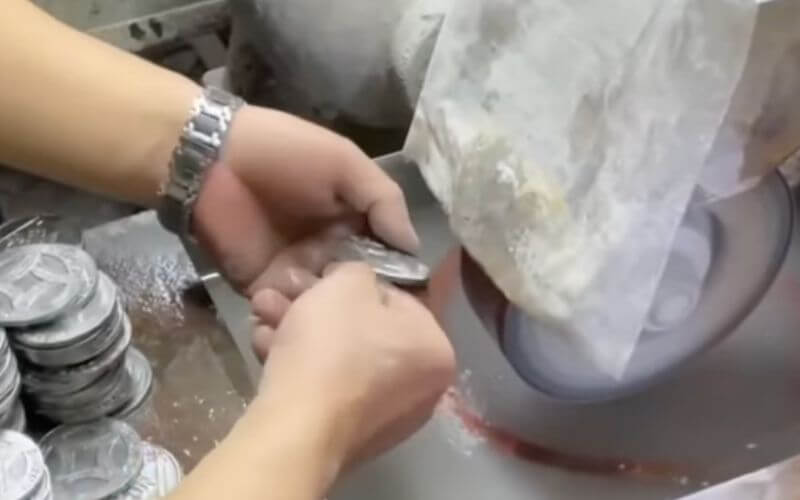
Step 5: Cutting, Trimming, and Smoothing
The next step in making challenge coins is cutting the edges off to achieve the desired smooth shape of your coins. It removes uneven surfaces and tiny burrs.
Cutting Round and Custom Shapes
Using Wire Electrical Discharge Machining (EDM), a no-contact manufacturing process that achieves high-precision cuts, or cutting dies, we cut and snip the edges of your custom-shaped coins. For round coins, they are punched from metal strips since they have the same shape.
Deburring and Pre-Polishing
After cutting and trimming the edges of your coins, their sharp edges and burrs are removed through tumbling or hand grinding. In this step, your coins are smoothened to erase excess borders.
We then polish your coins to prepare their surfaces for metal plating and finishing. It also makes your coins shine more.
Step 6: Metal Plating and Surface Finishing
The next step is preparing your challenge coins for metal plating and surface finishing to make them stronger and resistant to damage.
Cleaning and Surface Preparation
We clean and submerge your coins in chemical baths to make sure that the plating is bonded evenly to the metal surface. This step ensures smooth surface and metal plating. This process also removes any dirt and dust from your coin.
Applying the Plated Finish
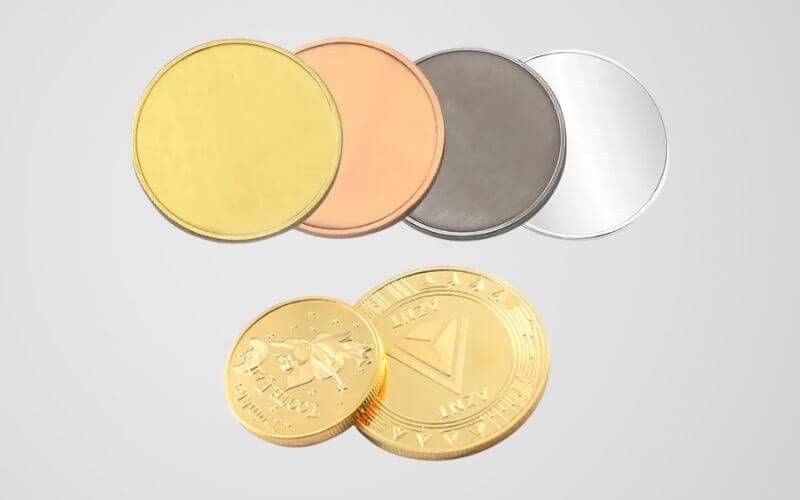
Once your coin is cleaned and prepared, we start the electroplating process. It’s a precise chemical process in which a protective layer is added to your coin’s surface by submerging it in a solution. An electric current goes through the coin to secure its surface.
Through electroplating, the coin’s overall appearance and longevity are improved. The added custom layer of metal makes the coin durable. The layer can be in gold, silver, antique bronze, black nickel, or rainbow finishes depending on your choice. You can also have your coin in a single-color plating or multi-layer plating.
Step 7: Adding Enamel Color
If you choose to have your challenge coins designed with color fill, we offer two options: soft enamel and hard enamel.
Every color of your design is selected based on the Pantone color code to ensure color accuracy. Once filled with the chosen colors, the enamel in your coin is hardened and secured onto the surface.
Soft Enamel Challenge Coins
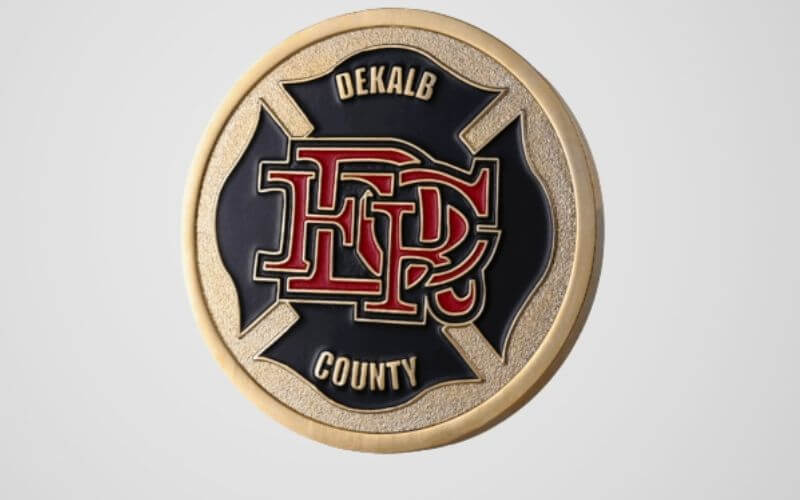
With soft enamel, the colors are within the recessed areas of the coins to create a textured, classic look. The raised metal lines are visible while the enamel is just beneath the metal surface.
Through this process, the coin first undergoes plating before adding the enamel.
Hard Enamel Challenge Coins

Unlike soft enamel paint, hard enamel creates a smooth and even surface between the recessed areas of the coin and the color paint. The coin is first filled with the enamel paint and is polished several times to achieve a smooth finish. After enamel fill, the coin is then electroplated to have a glossy finish.
Step 8: Edge Options and Special Features
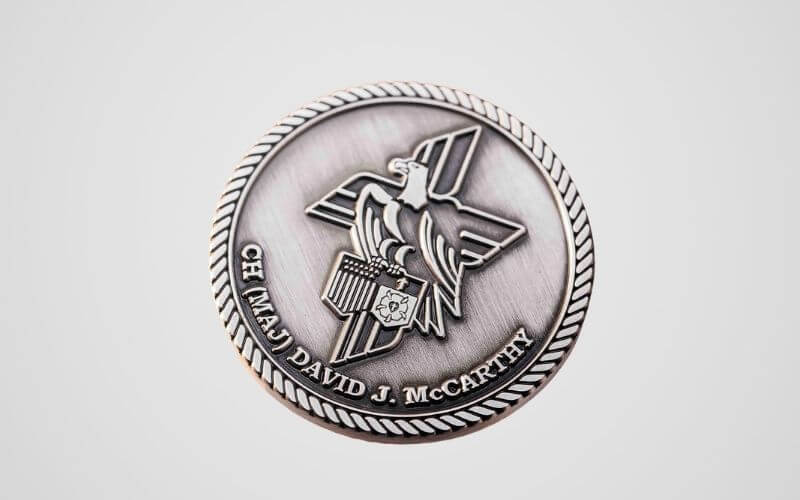
Challenge coins have edges that are made into the mold. Some common edge styles are flat edge, rope edge, and diamond-cut edge.
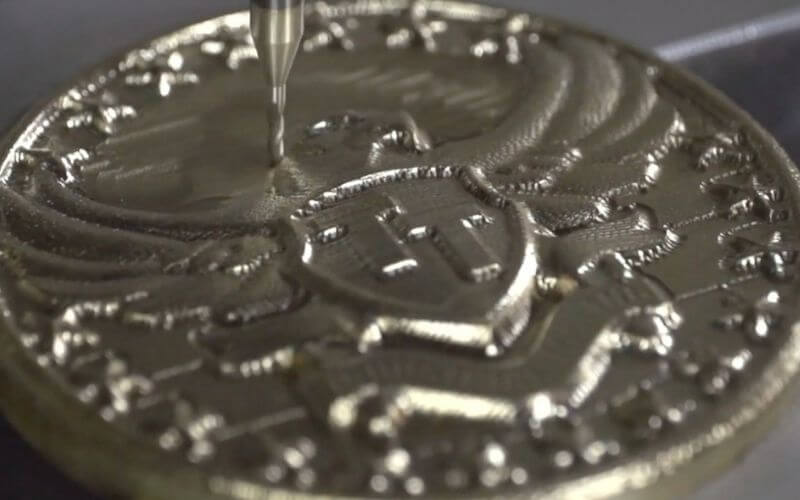
Some designs are achieved through careful laser engraving to precisely replicate the small details of your designs. This includes laser-engraved serial numbers, names, dates, and multi-level designs.
Step 9: Final Finishing, Quality Control, and Packaging
After completing all steps in making challenge coins, they undergo strict quality control to make sure that we have achieved accurate design match, durable manufacturing, and high quality customization.
Inspection and Quality Control
Inspection and quality control include checking the coin’s design accuracy, color fill, metal plating, and overall quality. Defective pieces are reworked or removed.
Packaging and Delivery
After inspection, your challenge coins are packaged in your chosen packaging option. The available options are polybags, velvet pouches, and presentation boxes.
The coins are then delivered to your doorstep after packaging.
FAQs
- Can You Make Your Own Challenge Coins?
- Yes. All you have to do is finalize your custom design and other details before sending your file to us.
- How Long Does It Take To Get Challenge Coins Made?
- The production time is usually 10-18 days depending on the quantity.
- What Are Challenge Coins Usually Made Of?
- Challenge coins are made of brass, zinc alloy, and iron.
- What Is The Purpose Of A Challenge Coin?
- The main purpose of challenge coins is to celebrate or honor a member or person by giving them a token of appreciation.
- Are You Able To Manufacture Coins In Different Shapes?
- Yes. Challenge coins come in different shapes like circles, squares, and triangles.